Screaming Frog SEO Spider is the premier tool for running technical audits of websites. This post will break down how to use it to find and fix broken internal links causing 404 errors on your site.
Screaming Frog is an SEO tool that’s been around for years, and for good reason. It’s awesome.
It’s also a little complicated.
This post is written specifically for Screaming Frog version 12, which came out in 2019. Older tutorials will show different screen layouts and features.
Stuff You’ll Need to Identify Broken Links
- Admin access to the website you want to work on
- Screaming Frog SEO Spider. The free version is fine if you have 500 or fewer URLs on your site. If you’re bigger than that – and most sites are – it’s about $190 per year. (Pricing is in pounds.)
- Excel
Steps to Find Broken Links Using Screaming Frog
- Crawl your site
- Isolate the 404s and other bad links
- Fix them!
Step 1: Crawling Your Site

The first thing you need to do is crawl your site using Screaming Frog SEO Spider.
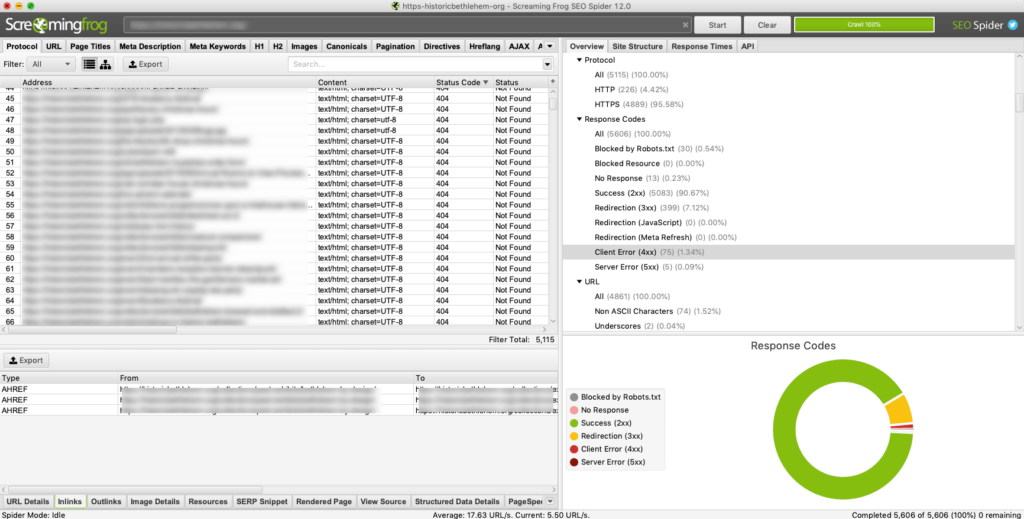
This is simple. Just put in your URL and click the “Start” button at the top of the screen. Depending on the size of your site, it might take a while.
Occasionally, you’ll find that your site won’t crawl. You can usually find your answer over at Screaming Frog’s support center.
When your crawl is done, you’ll see “100%” at the bottom right corner of the application.
Now it’s time for the fun stuff.
Step 2: Isolating Broken Links
Go to the “Protocol” tab (it’s the first one) and do a sort by Status Code. You want your bigger numbers at the top.
There are a number of different status codes out there. The ones that are fine are:
- 200 – no problem at all
- 301 – permanent redirect
- 302 – temporary redirect (though you shouldn’t use too many of these)
Status codes you should try to fix are:
- 307 – an HSTS Policy error; these are almost never internal links
- 404 – standard broken links
- 429 – too many requests; these are almost never internal links
- 500 – server error
You might find some other oddballs in Screaming Frog crawls, but these are the big ones.
Once you’ve sorted by Status Code, look for 404s and 500s first. These are on your site, and you control them.
- If there are no 404 or 500 Status Codes, you’re good!
- If you find a few, we’ll fix them one by one.
- If you find many (most sites do), we’ll export them to Excel.
Step 3: Fixing Broken Links You Found with Screaming Frog
There are two ways to fix broken links you found in Screaming Frog.
Dealing with Broken Links Manually
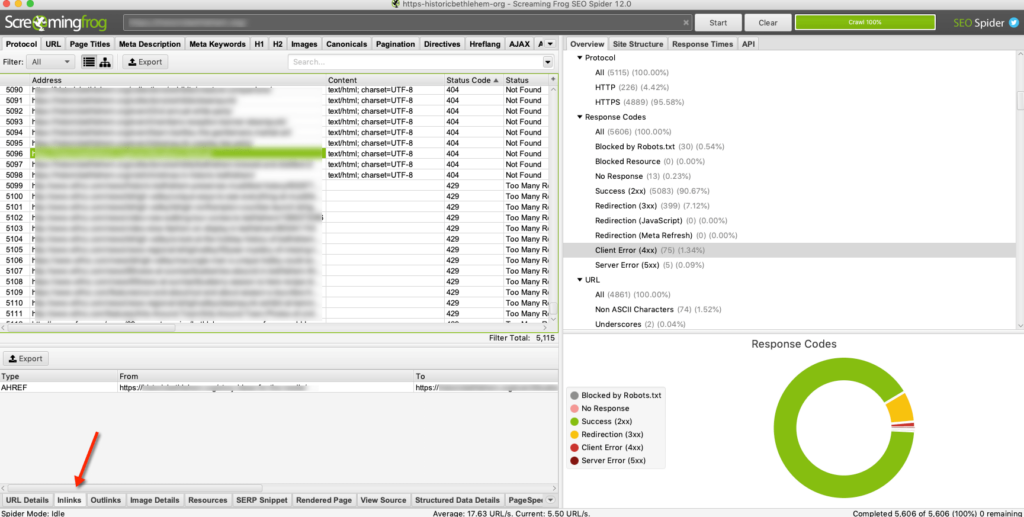
If you only have a few 404 and 500 entries in your Status Code column, click on one of them. Then click “Inlinks” at the bottom of your screen.

The “From” field shows you the page your bad link is on.
The “To” field shows you where it’s linking to on your site. (“To” isn’t working, hence the 404 or 500.)
“Anchor Text” is usually the text that contains the link. This might be different if it’s a button or image.
With this information, go to the page and fix the link. Either remove it or point it somewhere that works. You might also have an issue with the page on the receiving end of the link. If this is the case, fix that.
Dealing with Broken Links in Bulk
Most sites more than a year or two old have 20 or more broken links. It happens.
To fix 404 errors in bulk, you’ll want to export your inlinks from Screaming Frog.
To do this, go to “Bulk Export” – it’s in your main navigation, at the top of your screen on a Mac – and choose “Response Codes,” then “Client Error (4xx) Inlinks.” This will give you a spreadsheet of all broken links you found with Screaming Frog.
You can do the same thing for 500 errors by choosing “Server Error (5xx) Inlinks.”
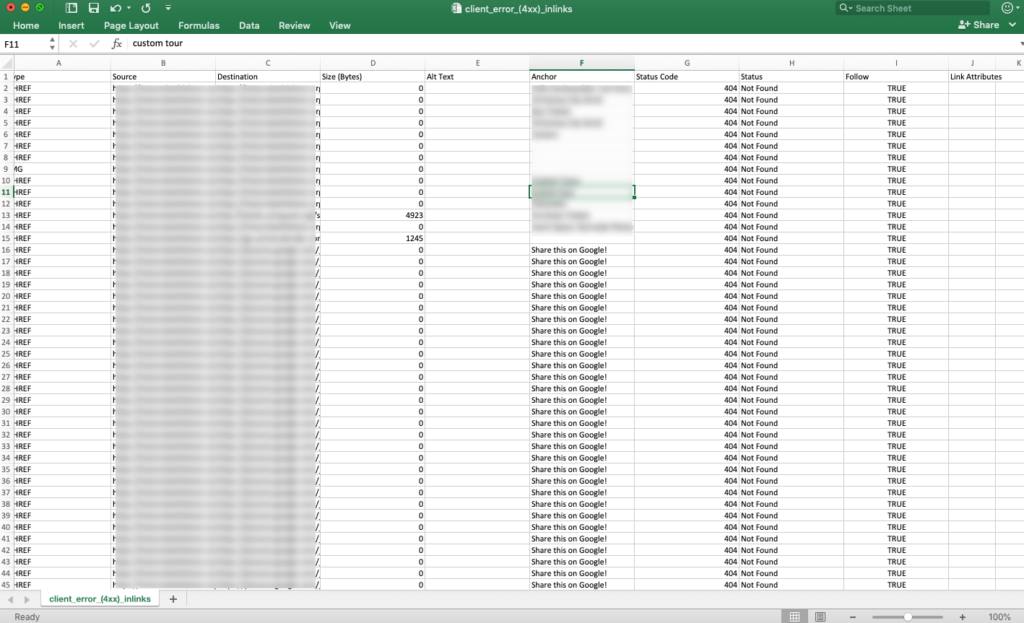
Now open this spreadsheet in Excel. Here’s what you’ll see:

“Source” is the page with the broken link on it. “Destination” is the place it’s pointing to that doesn’t work.
Now it’s time to fix this. Either go to the source page and change where it’s pointing, or fix an issue with the destination page.
That’s it! You’ve now used Screaming Frog to find and fix broken links on your website.


